
Pro Plus
Connect your OpenAI key
Pro Plus runs your searches on your own OpenAI account once your free searches are used. Here is every click, start to finish. It takes about five minutes, and you need a card for OpenAI's billing.
In OpenAI
Get a key
- 1
Sign in to OpenAI
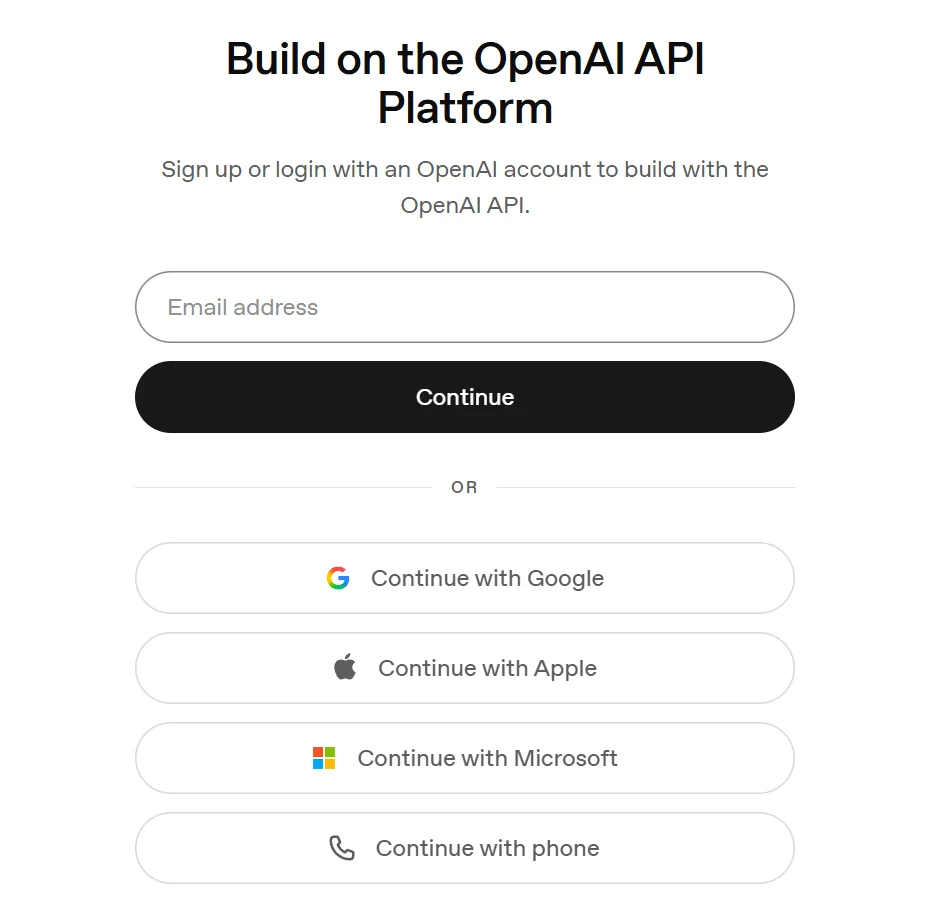
Go to platform.openai.com. Type your email and click Continue, or click Continue with Google. New to OpenAI? The same page creates your account.
- 2
Add money to your OpenAI account
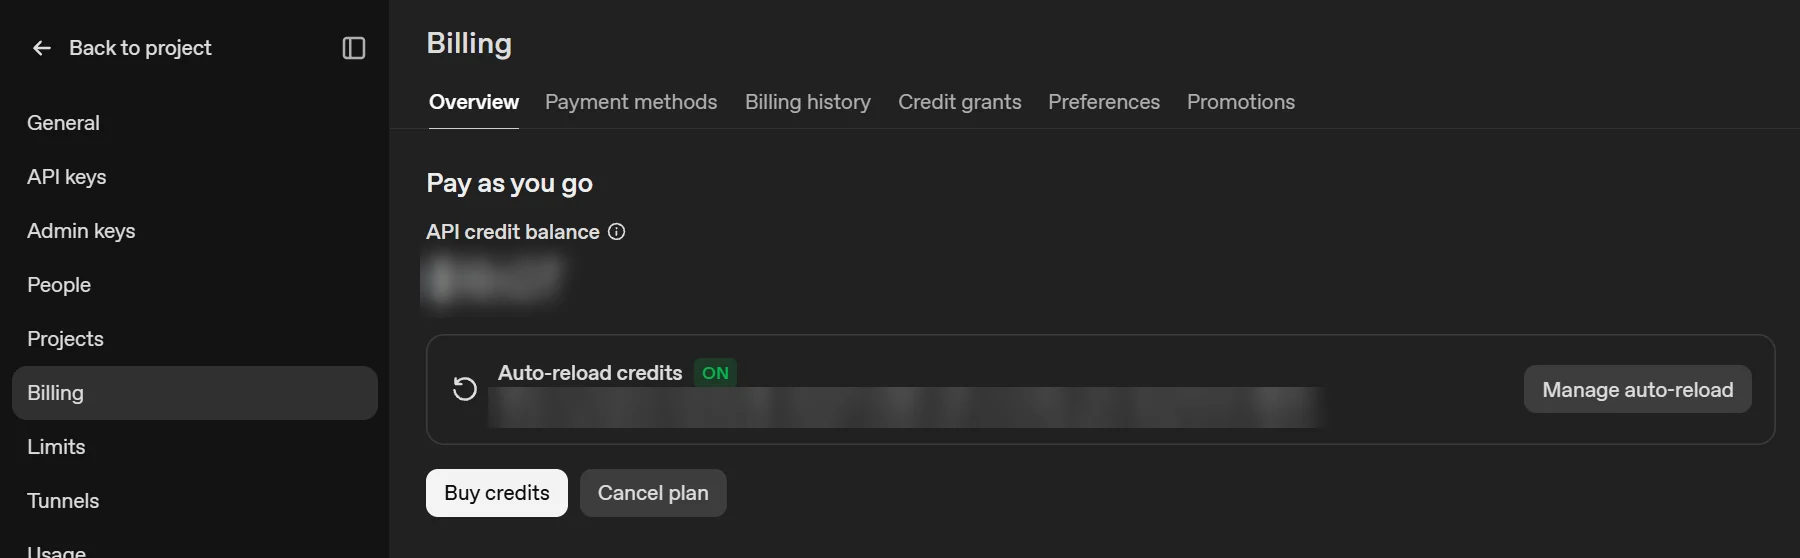
Open Settings, then Billing, and click Buy credits (a brand-new account shows Add payment details first). A key only works once the account has money on it; $5 to $10 is plenty to start.
- 3
Open API keys and create a key
Open API keys, then click Create new secret key.

- 4
Name the key and create it
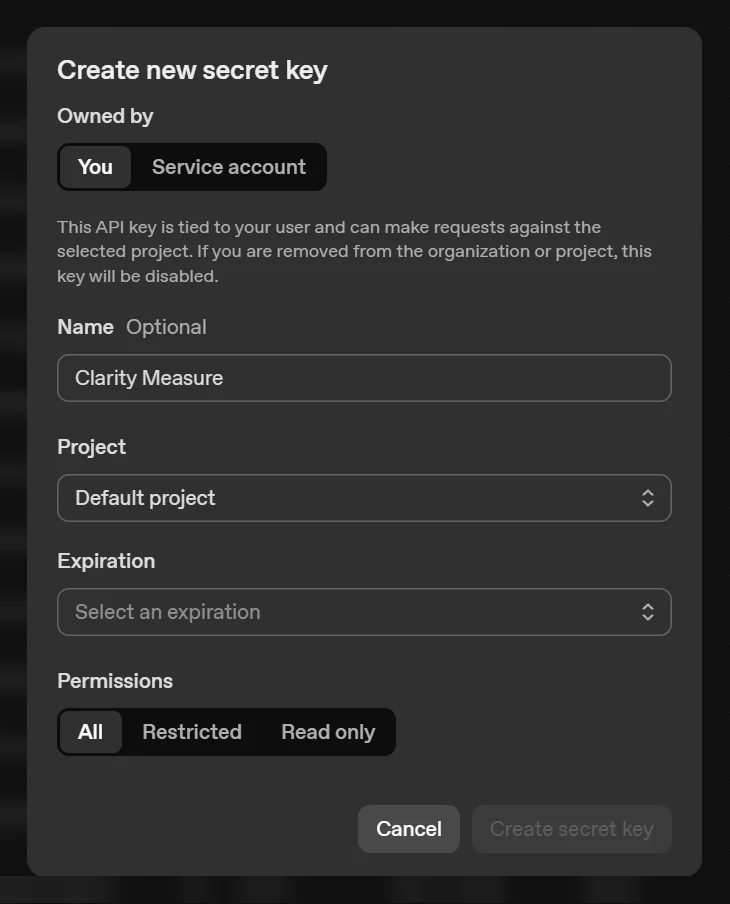
Type Clarity Measure as the name and pick an Expiration (the button stays grey until you do). Leave Permissions on All, then click Create secret key.
- 5
Copy the key
Click Copy. OpenAI shows the key only once, so copy it now. Keep it private: anyone with it can spend from your OpenAI account.
In Clarity Measure
Paste it in
- 6
Open Settings in Clarity Measure
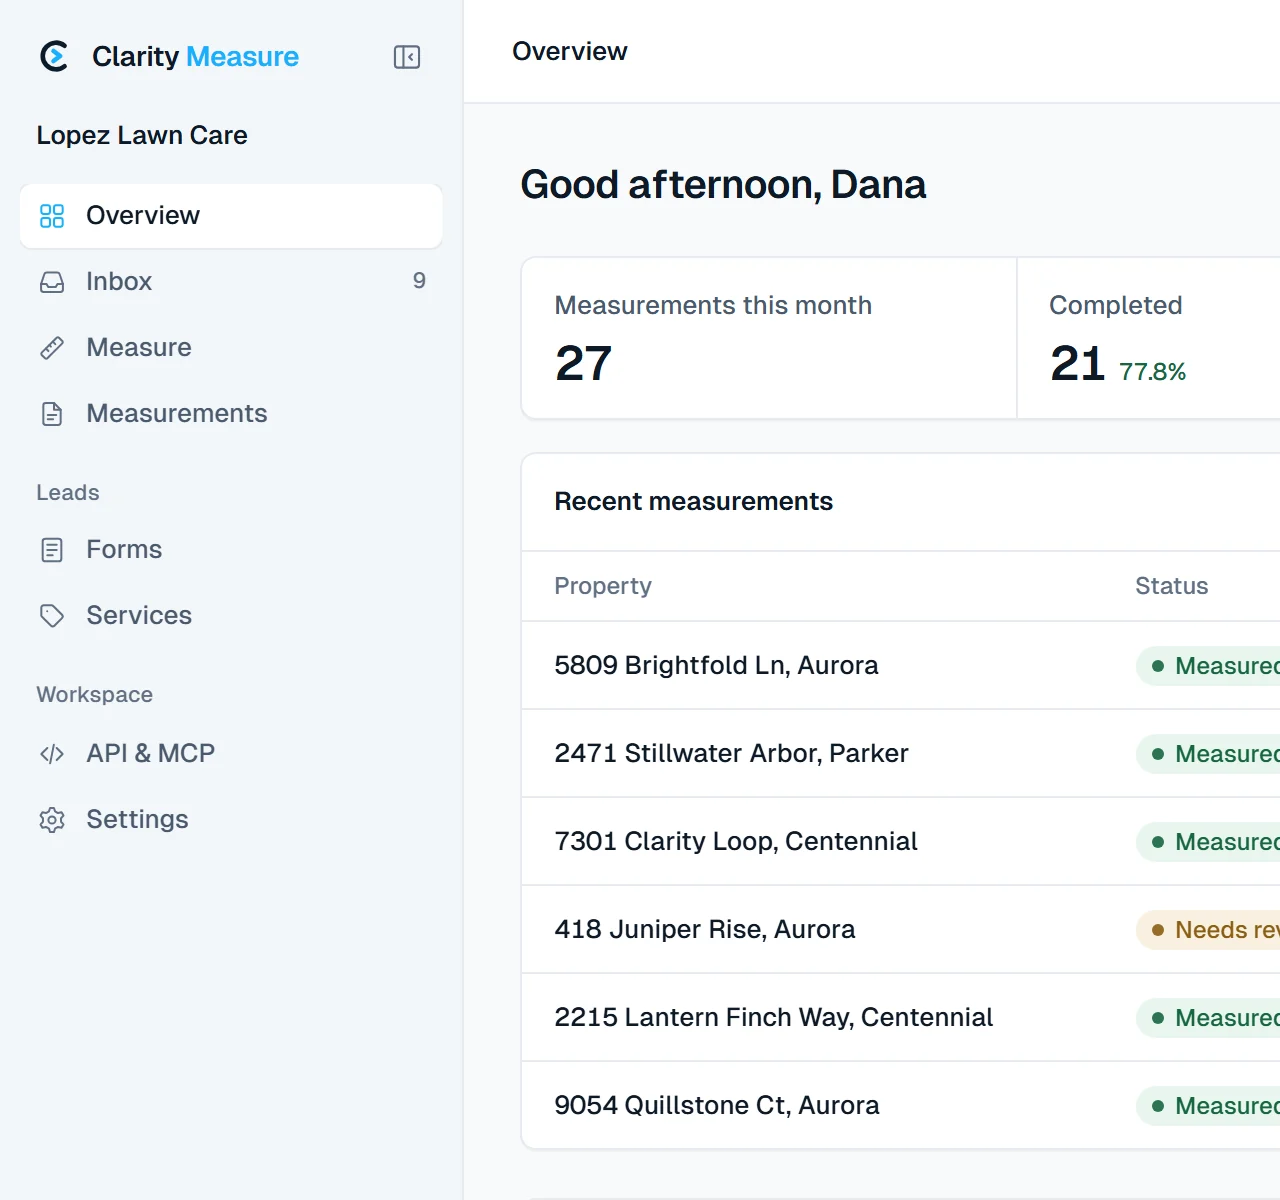
Sign in to Clarity Measure and click Settings at the bottom of the sidebar.
- 7
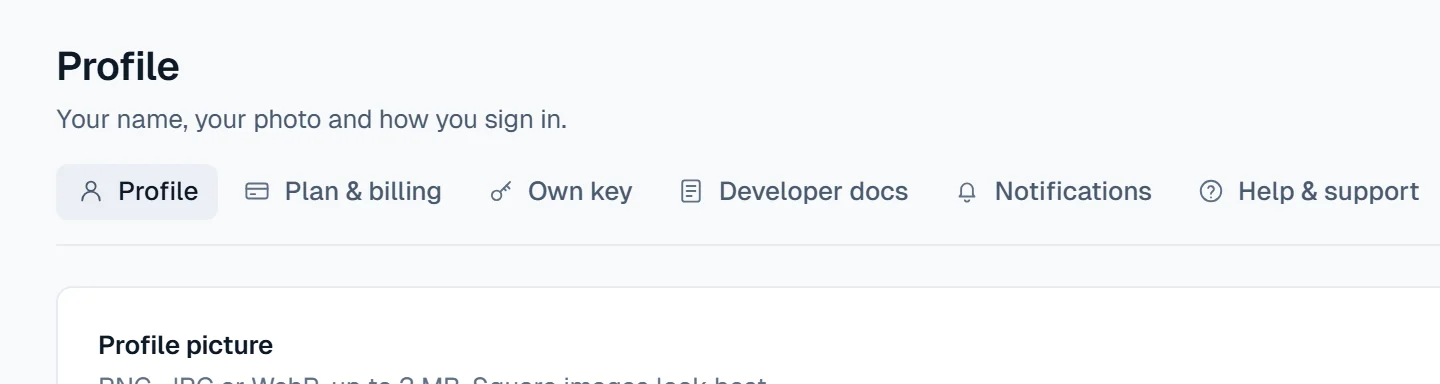
Open the Own key tab
Click the Own key tab at the top of Settings.
- 8
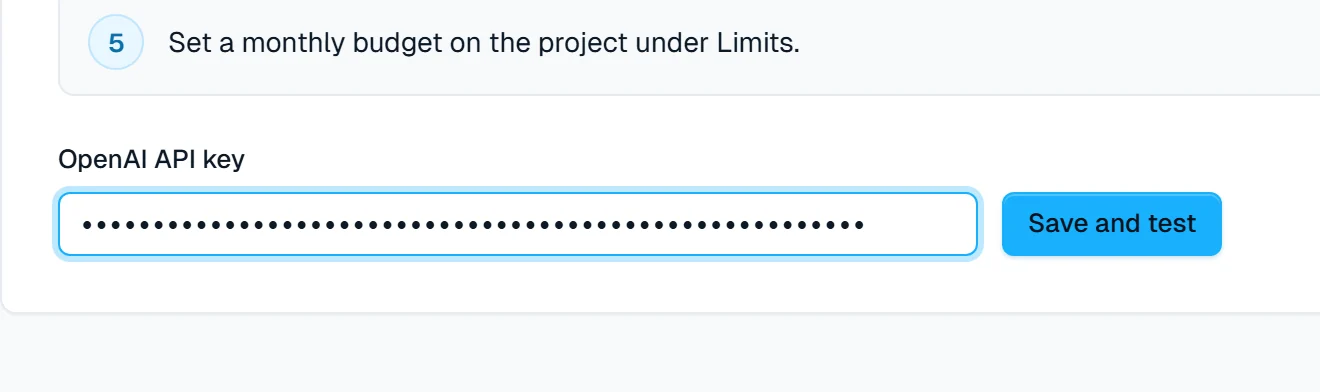
Paste your key
Click in the OpenAI API key box and paste (Ctrl+V, or Cmd+V on a Mac). It shows as dots so nobody looking over your shoulder can read it.
- 9
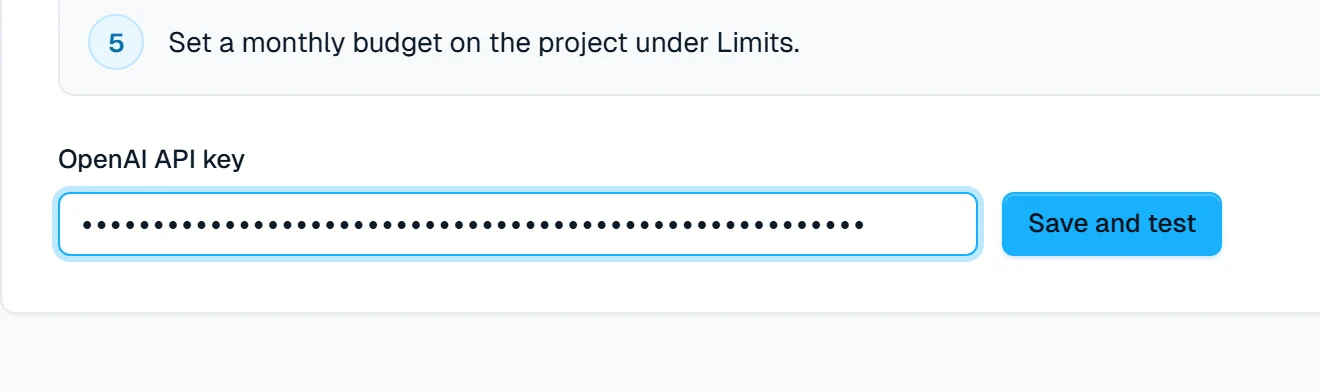
Save and test it
Click Save and test.
- 10
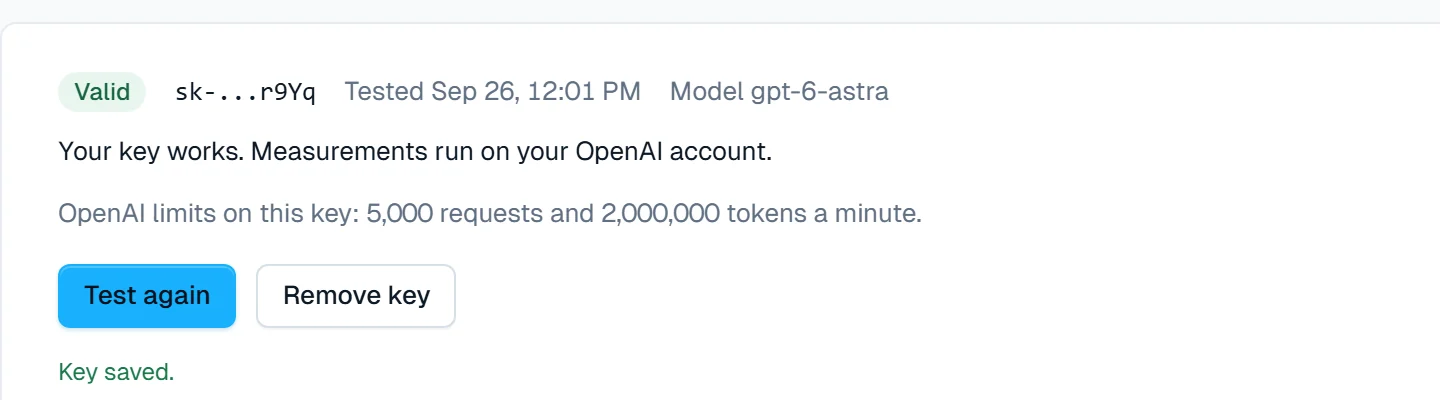
Check that it says Valid
Clarity Measure checks the key with OpenAI straight away. Valid and Your key works mean you are done. Your free welcome searches still run on us; after them, every search runs on your OpenAI account.
If it does not say Valid
- Out of funds
- Your OpenAI account has run out of money. In OpenAI, open Settings, then Billing, add money, and press Test again in Clarity Measure.
- OpenAI did not accept this key
- Shown when you press Save and test: the key was not copied whole, or its permissions are not All. Create a new key with Permissions on All, copy it with the Copy button, and paste it again.
- Invalid key
- A key that worked has stopped: it was deleted or turned off in OpenAI. Create a new key, paste it in, and press Save and test.
- No model access
- Your OpenAI project blocks the model Clarity Measure uses. In OpenAI, open the project's Limits and allow all models, or create the key in the Default project.
- Rate limited
- New OpenAI accounts start with low limits. Wait a minute and press Test again. The limits rise on their own as your account is used and paid.
- Fast not available on this key
- The key works, but OpenAI does not offer the Fast speed on it yet. Switch Speed to Standard to keep measuring. Fast opens up as your OpenAI account is used and paid.
- Not tested yet
- Clarity Measure could not reach OpenAI to finish the check. Wait a minute and press Test again.
Your key is stored encrypted and is only used for your own searches. Clarity Measure never shows more than its last four characters. You can remove it at any time in Settings, Own key, Remove key. To cap what OpenAI can charge, set a monthly budget in OpenAI under Settings, Limits.